No products
Prices are tax included
What is Limente APP?
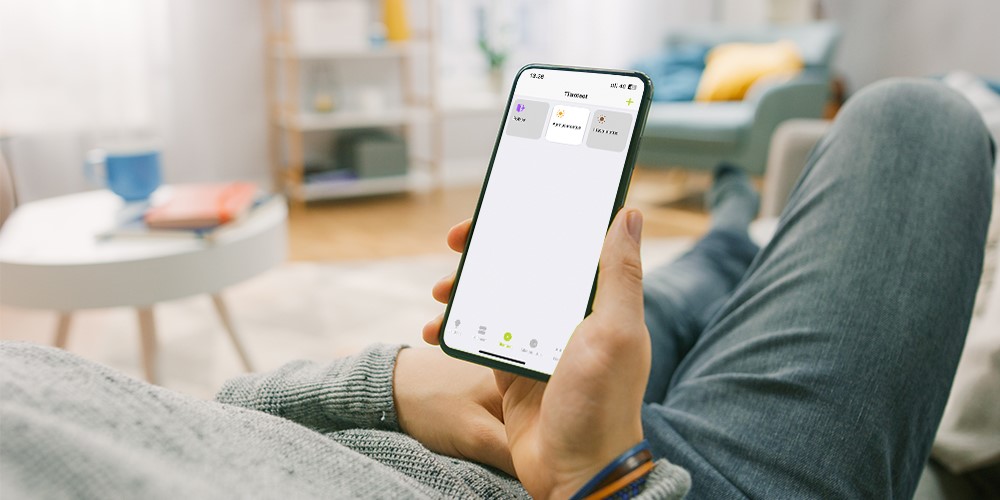
LIMENTE APP is a mobile application that you can use to control and adjust the connected Limente SMART 520-, 540-, 560- ja 580 series receivers, and thus all connected Limente lights. You can add the desired receivers to the LIMENTE APP and control them as individual, separate lights or by room.
Various lighting modes can also be added to the APP to make everyday life easier, which can be used to control receivers and the lights connected to them. For example, desired mood for lighting can be created where, with one press of a button, the lights can be dimmed or simply turned on and off. The application is simple and easy to use. Below we have collected instructions that will help you get started easily.
With the Limente APP, you can easily control the lights:
- You can easily turn on the lights of each room individually or as a group
- You can conveniently adjust the lights remotely
e.g., turn off all the lights connected to the APP at the same time - Create different moods
By adding different lighting moods, you can directly turn on e.g. the desired mood or working lighting - Schedule lights
You can schedule the lights you want to wake you up on weekdays.
How do I connect devices to Limente APP?
1. Tap "Devices" at the bottom of the basic view, to go to the devices tab.
2. Tap ”plus”-button (+) and choose “Search for devices (Bluetooth)”. After that, quickly press the “Connect”-button twice on the device you wish to add. In this case, the device goes into pairing mode with the APP. After finding the desired device, make sure that there is a check mark (✓) and tap the “Add” button.
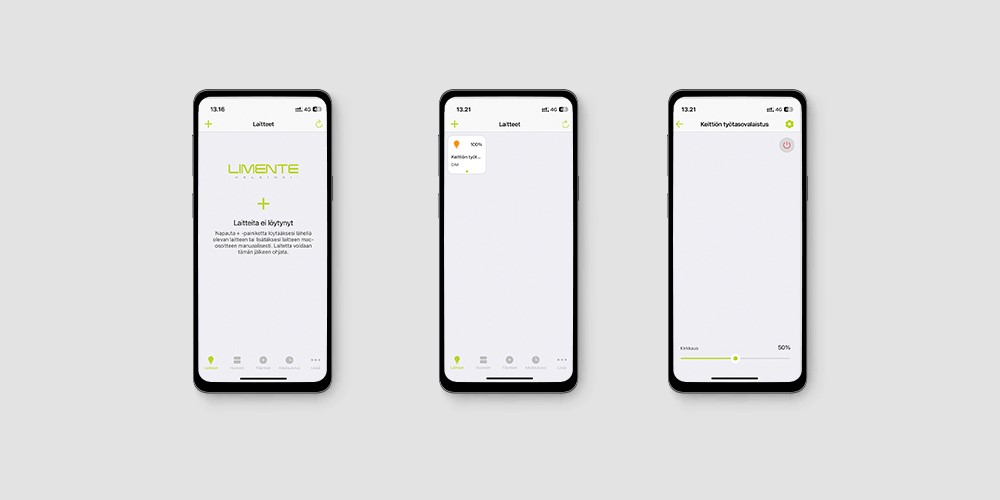
3. If a Mac address is printed on the device, you can also add the device manually by selecting “Manually” after tapping “plus” button on the devices tab. After that, enter the Mac address shown on the device in the field and tap the check mark (✓).
4. Now the device should be found in the “Devices” tab, if not, you can update the APP from the symbol found in the upper right corner. By holding down the button on the device and then tapping the gear icon in the upper corner, you get to the configuration menu, where you can e.g., change the name of the device and the duration of switching the light on/off. NOTE! Naming the devices makes it easier to identify individual lights.
How do I use the “rooms” space?
1. Tap “Rooms” at the bottom of the main view to go to the rooms tab. NOTE! “Room” can be any entity under which light are collected.
2. Tap the “plus” button (+) in the upper right corner to create a room.
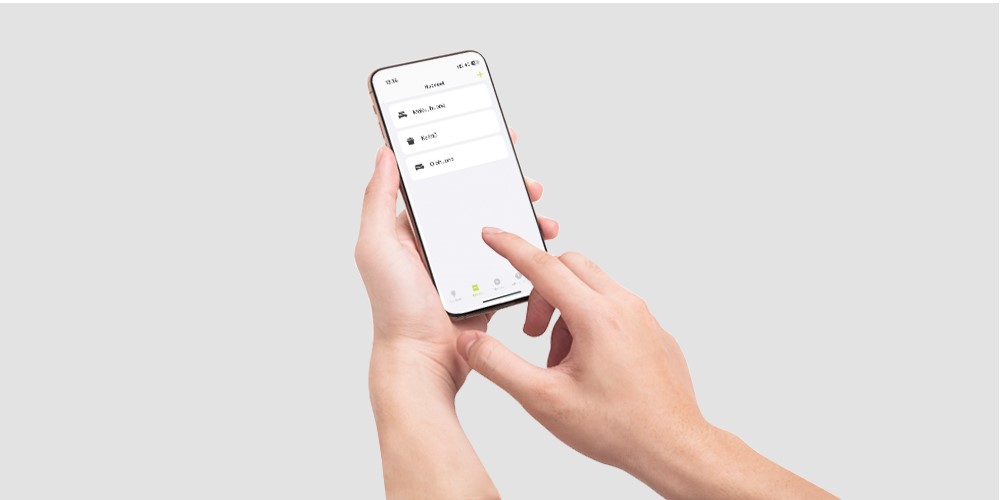
3. Give the room a name and symbol. After that, select the devices you want to connect to that room by putting a checkmark in the box next to the name of the device you want. Finally, tap the check mark (✓) in the upper right corner to save the room.
4. By holding down the room button, you get to the desired room page. From here you can control all the lights in the room at once or choose between the light in the room. Tapping switches, the lights “On/Off” and with a long press, you can bring up additional options, e.g., for adjusting the brightness of the lights.
How do I use “moods” space?
1. Tap “Moods” at the bottom of the main view to go to the moods tab.
2. Tap the “plus” button (+) in the upper right corner to create a mood (moods = preset light setting for the device/room).
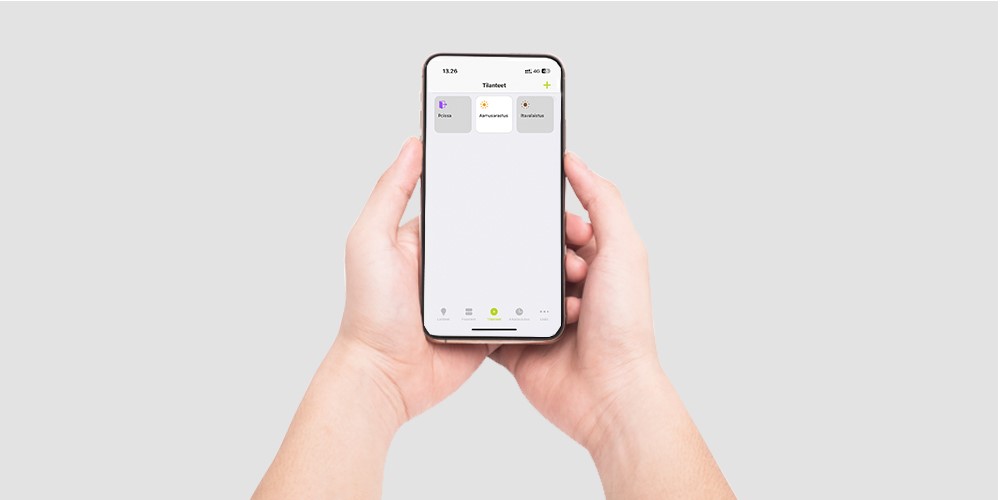
3. Give the lighting mood a name and symbol. After that, select the desired devices that are affected by the lighting mood by putting a check mark in the box next to the name of the desired device. Tap the configuration button to the left of the check mark to set the desired light setting for the lighting mood. Setting include e.g., on/off, brightness and duration of activation of the lighting mood.
4. Once the lighting moods are defined, tap “Create” to save it. You can then activate the lighting mood by tapping it or setting it as a scheduling function. With a long press, you can go back to edit the lighting mood.
How do I use the ”schedule” mode?
1. Tap ”Scheduling” at the bottom of the main view to go to the scheduling tab.
2. Tap the ”plus” button in the upper right corner to create a schedule.
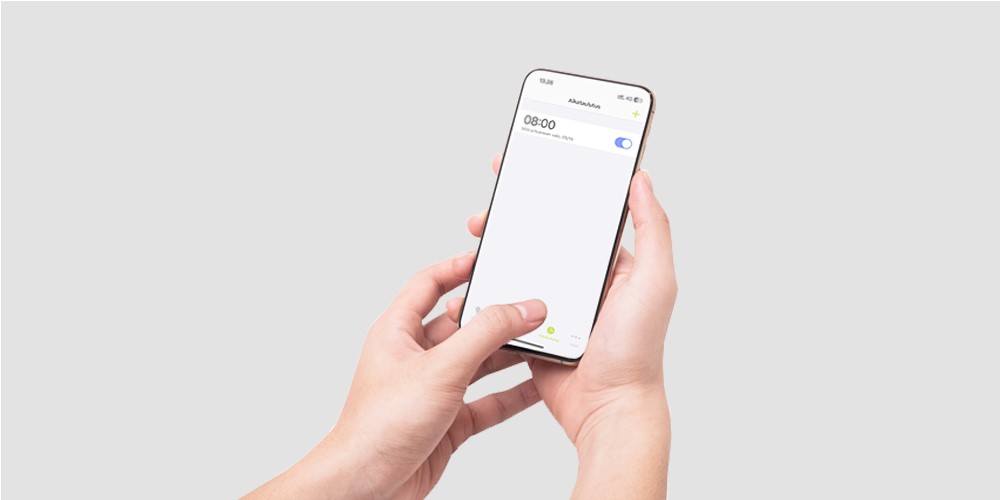
3. In the ”Create” menu, tap either ”Week” if you want recurring scheduling weekly or ”Day” if you want one-time scheduling for a specific date.
Tap ”Target” to select a device or room to schedule.
Tap ”Function” to select one of the following functions: ON, OFF or MOOD you created (NOTE! Moods cannot be scheduled for rooms).
Tap ”Time” to set the time for scheduling.
Tap ”Days” to select the days of the week or ”Date” to select the date the schedule is valid.
4. Once the schedule is set, tap ”Create” to save it. Now you can select the scheduling as active/passive from the switch button and by pressing the time you can go back to edit the scheduling.
Download for free
From the App Store or Google Play. Limente APP is compatible with phone models:
- iPhone X
- iPhone XS
- iPhone XS Max
- iPhone XR
- iPhone SE (2nd)
- iPhone 11 à newer
- iOS 12 à newer